
Propagation stations are all the rave in the planty world as you may know. I have had propagation stations made from Ikea spice rack holders and mason jars in the past but I find they did hold prime real-estate on the shelf as they were bulky. So, I’ve been drawn towards Wall propagation stations. I looked on Pinterest and Instagram for inspiration to make my own Propagation wall. Propagation stations off the shelf means… more space for potted plants 🙂
**The author of Green Obsessions is a participant of the Amazon Associates program, and thus, she gets commissions for purchases made through links in this post.**
What you will need:
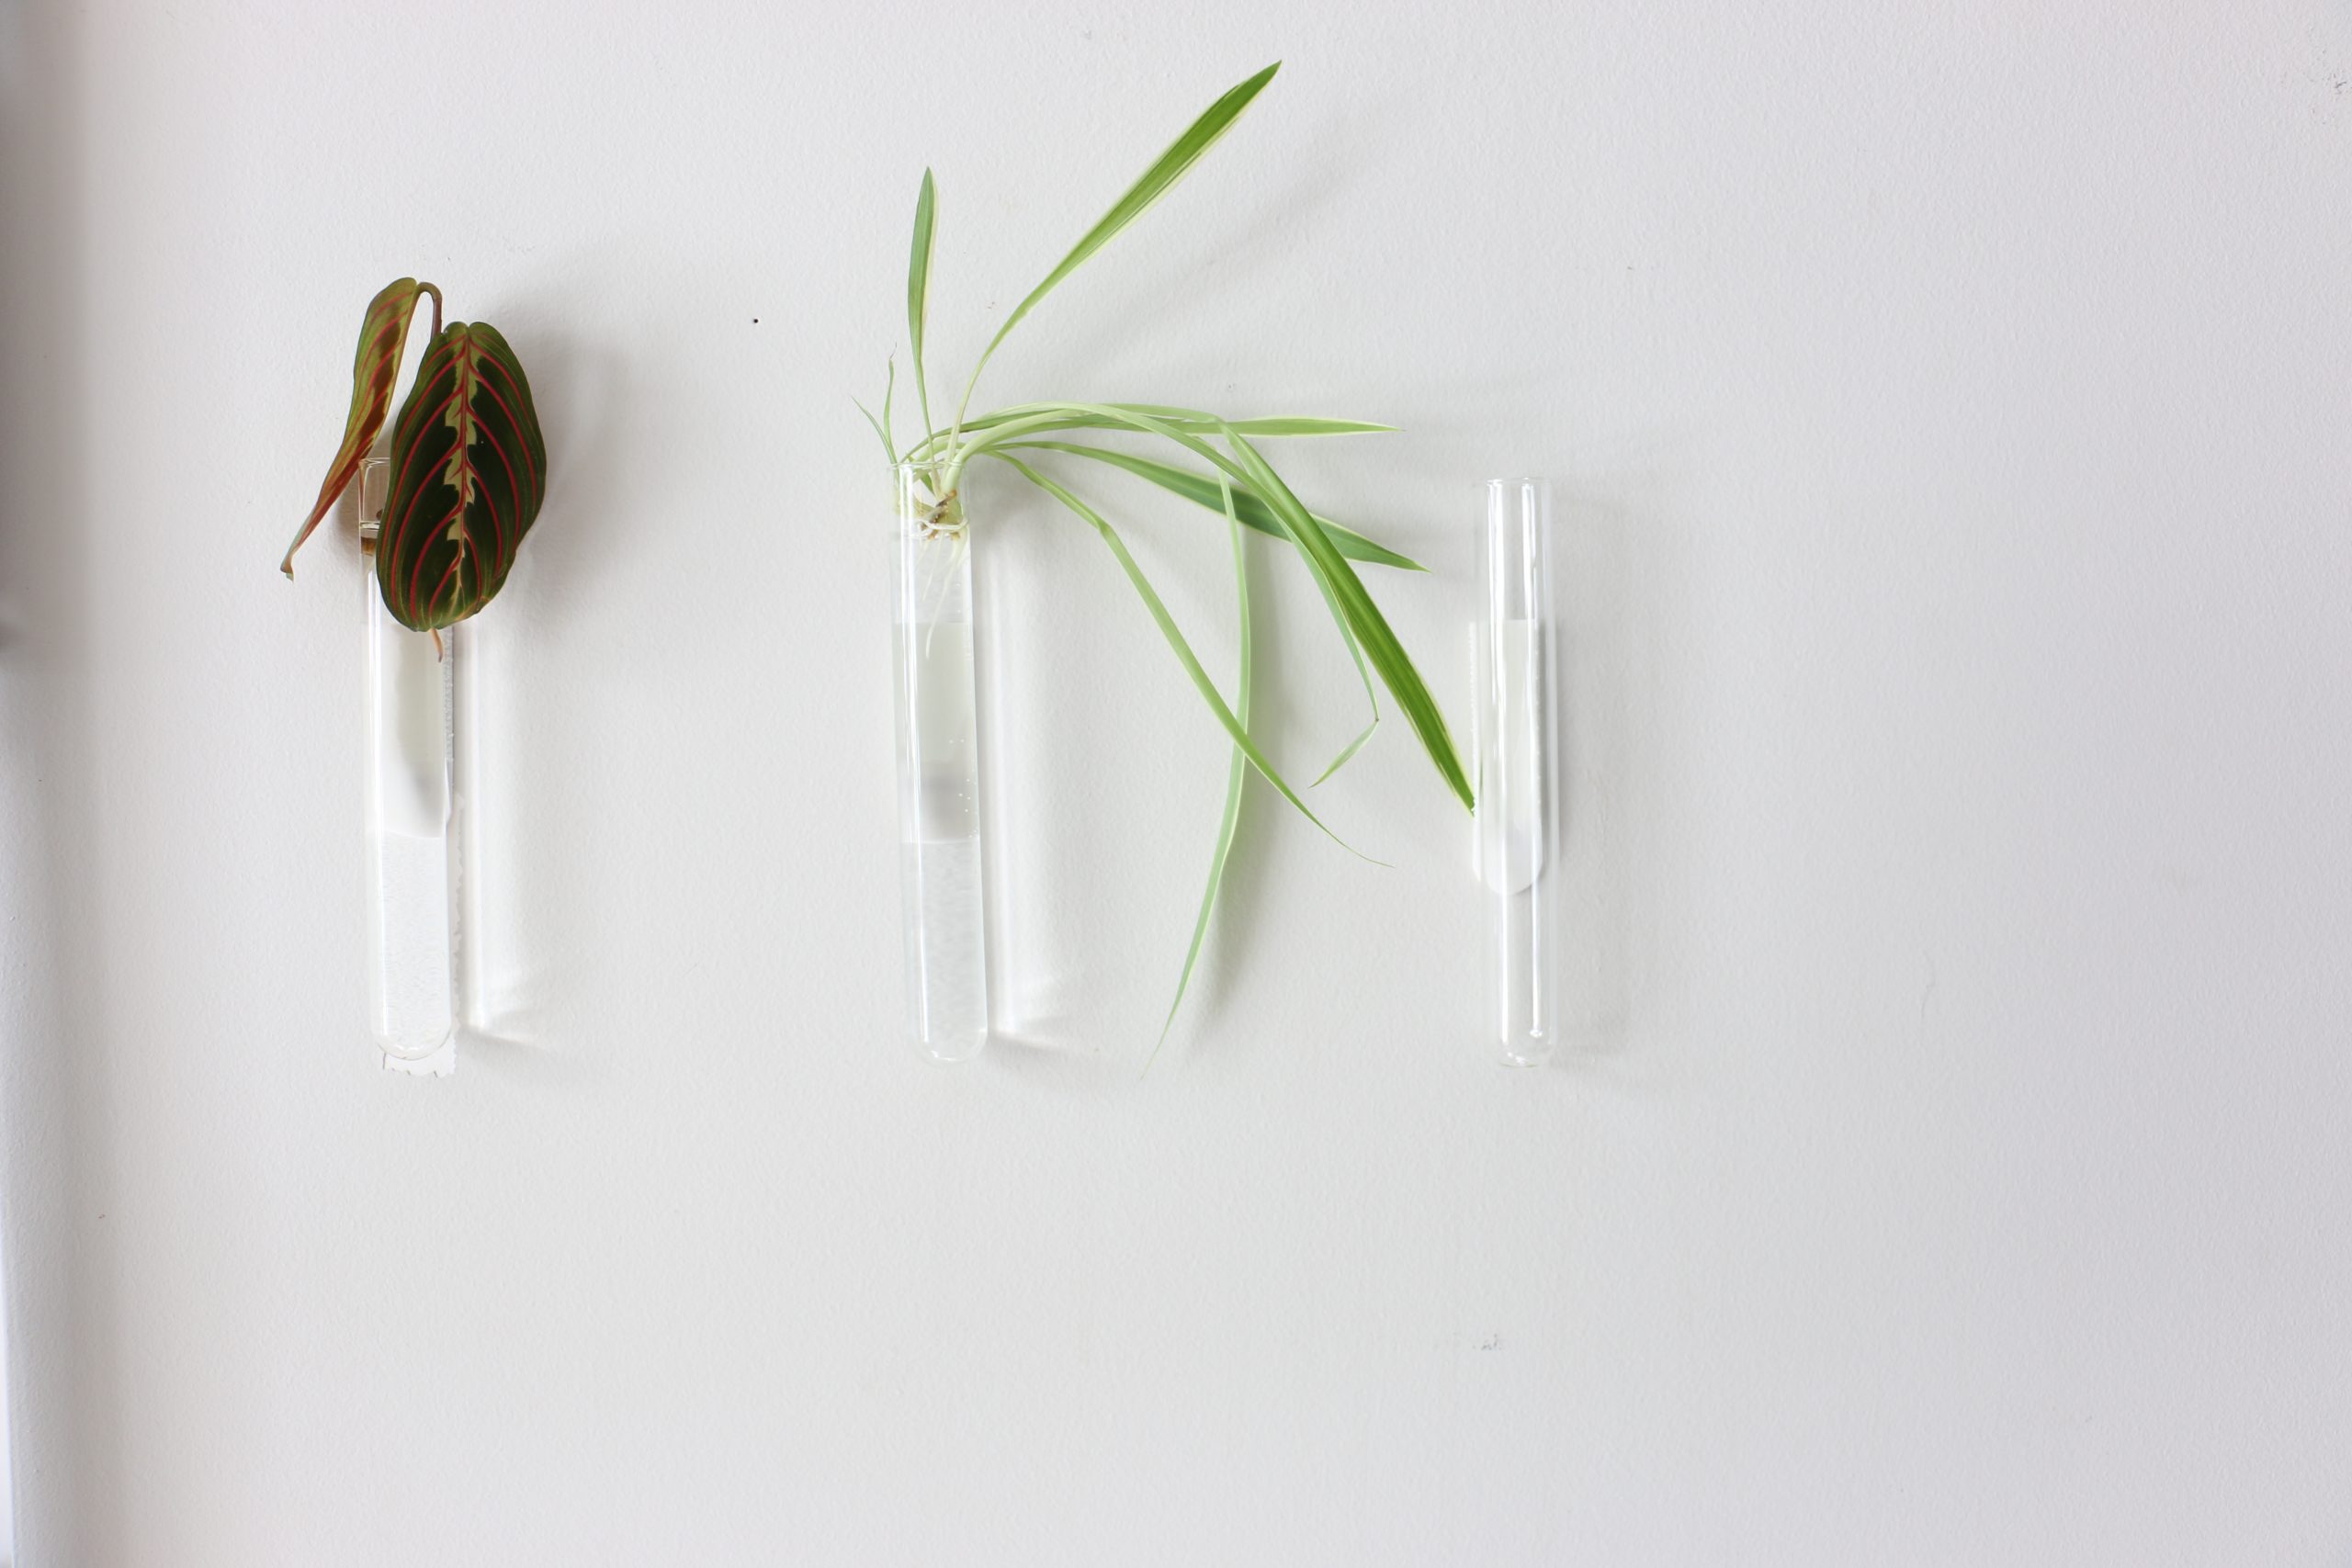
- 3M Command Picture Hanging Strips: The Velcro-like aspect of these strips allow you to take off the tubes from the wall for whatever reason (i.e. to clean) and be able to put it back with no fuss. Also if you use distilled water, you may not need to take it off as often as water rings will not form in the tube. All you will like have to do is top up periodically. If you decide to place the tubes on another wall, the 3M strips come off easily with no damage to your walls. I used both the medium and small sizes of these strips and they both work well, so you may choose just to get the small or use whatever size you have on hand.
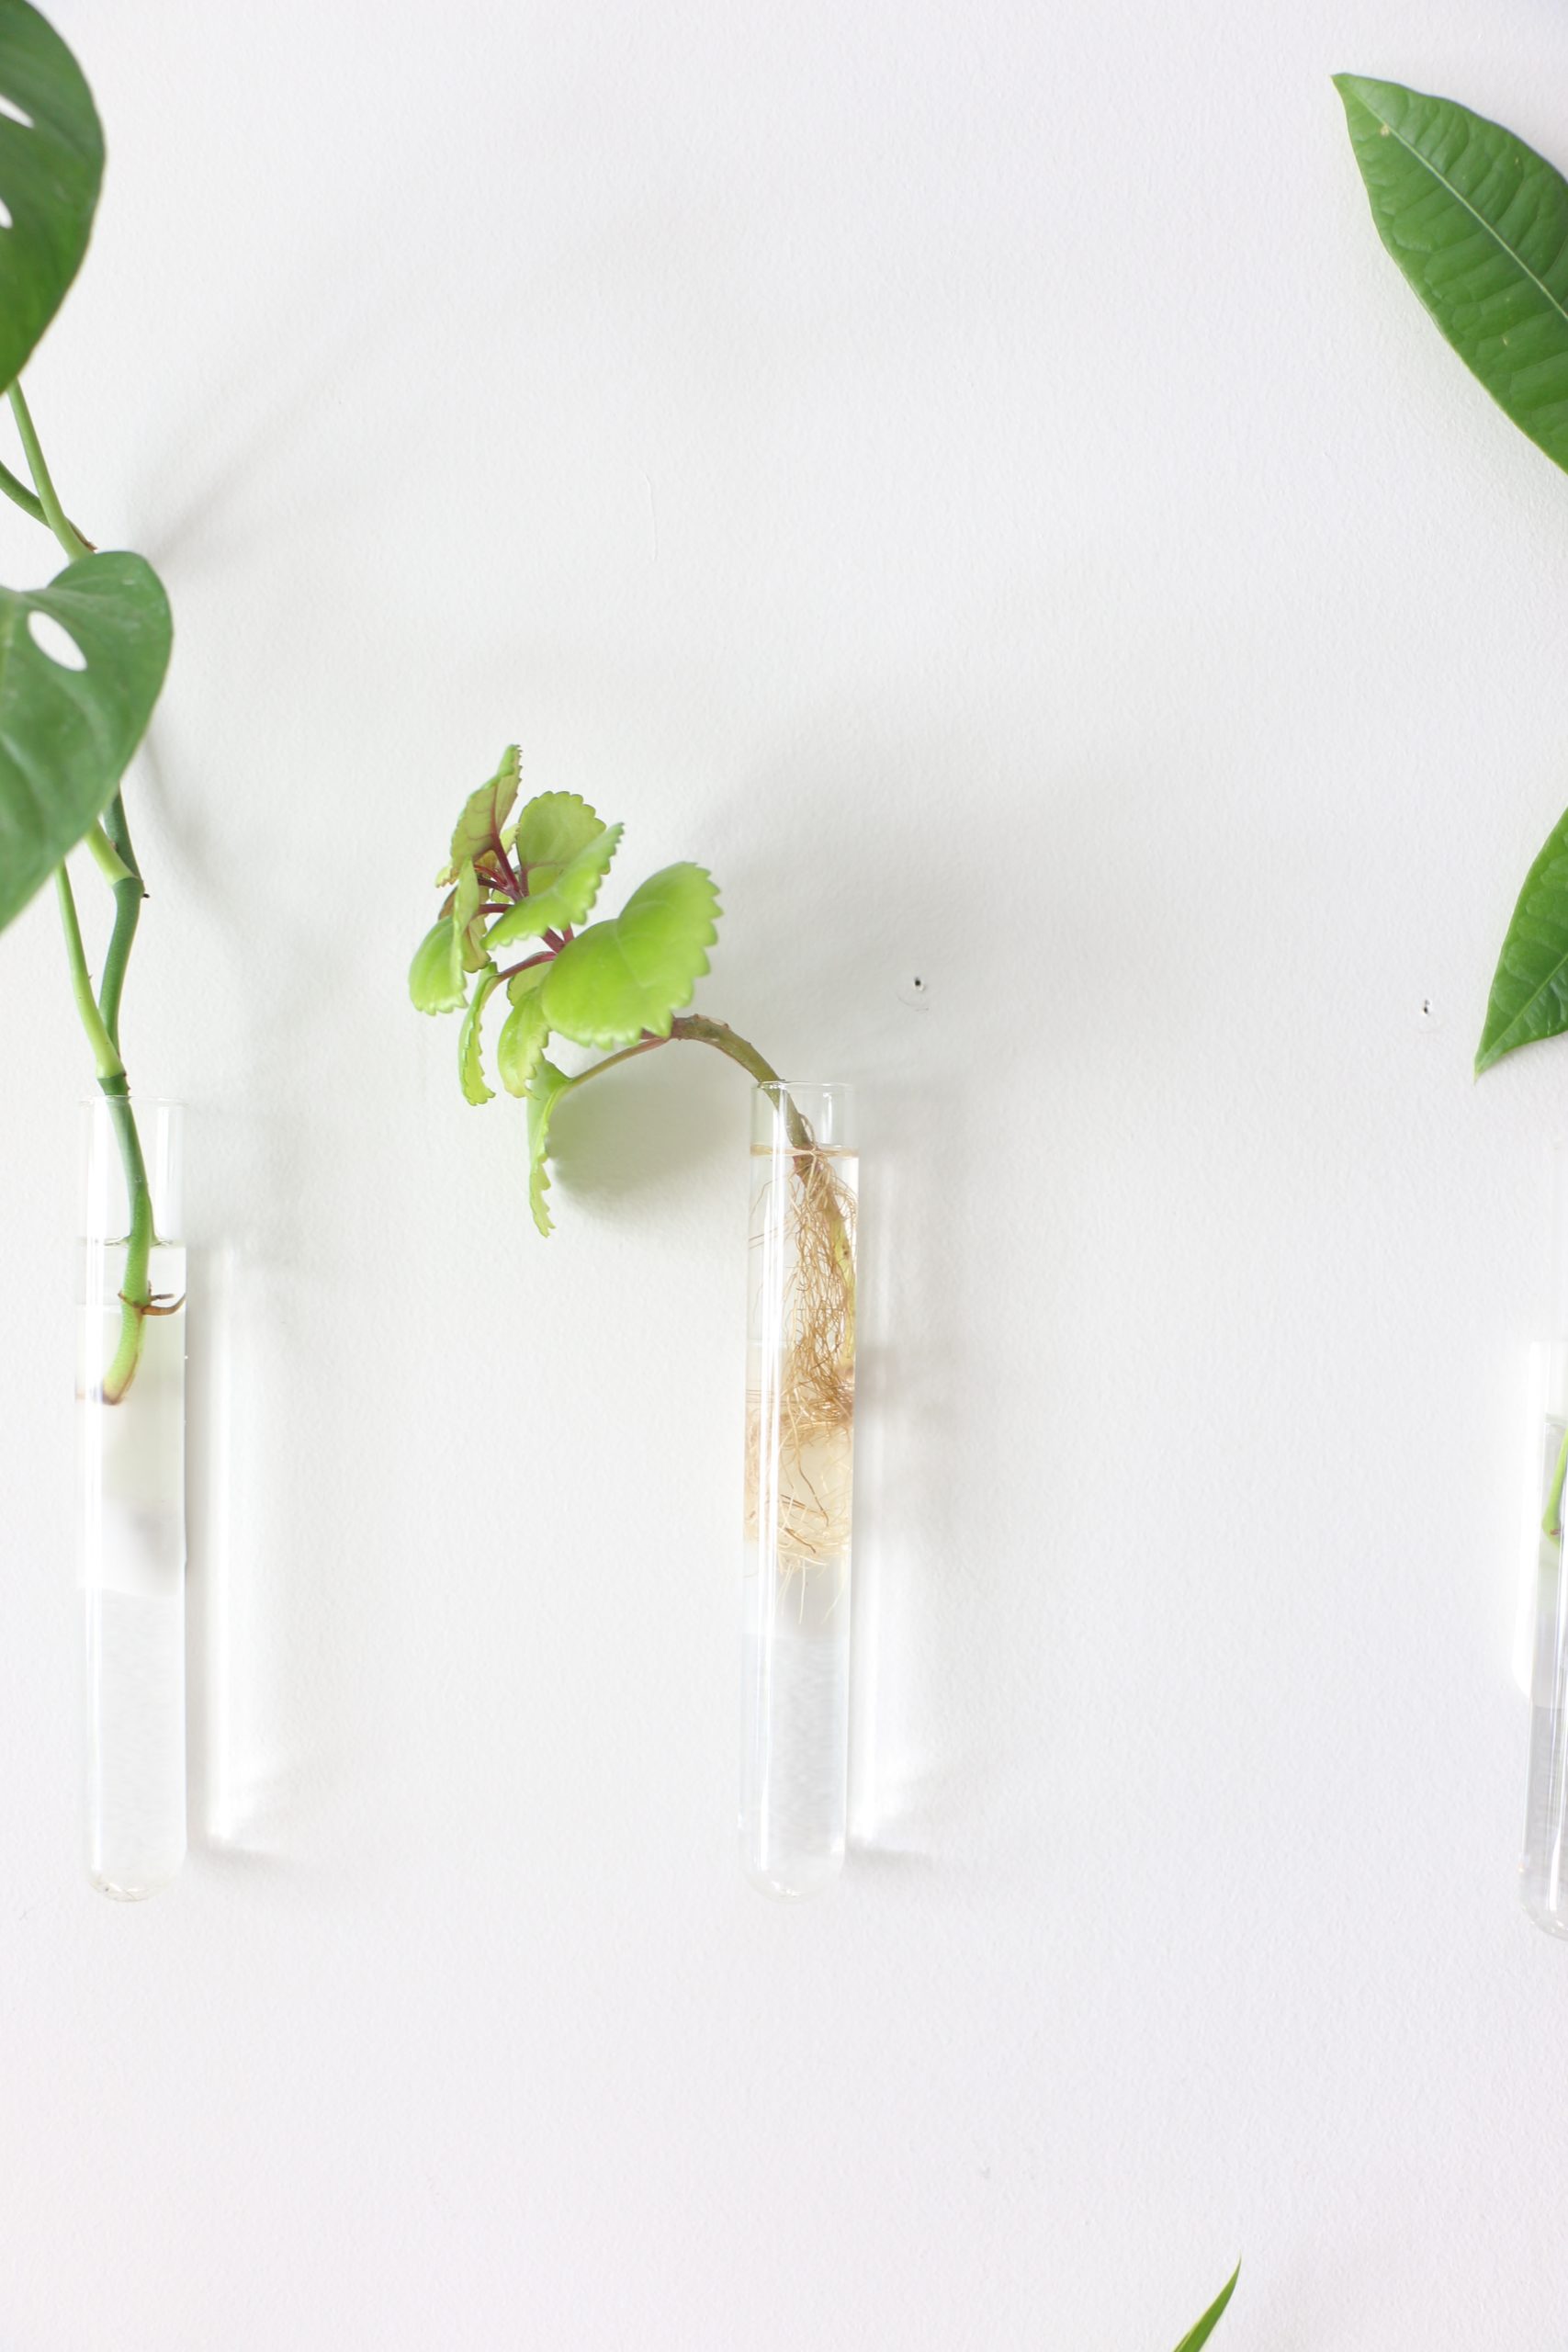
- Tubes: You can also use any glass container of your choosing, preferably a light one. If your glass container is on the heavy side, I would recommend using a large command strip to support the weight of your container better. Of note, I used the test tube with 20mm rim. There were also test tubes with 30mm rim but can no longer find on amazon. If it does come back in stock I would recommend as you end up with a bigger opening and being able to fit bigger stem cuttings or doubling up cuttings in one tube.
- Appropriate wall: Once I had the strips and test tubes in place, all I needed to do then was select my wall for the propagation set up. I have a wall about 4 feet away from a southwest window. This wall likely receives medium-low light which is where I decided to set up. I have another wall near a north facing window which could also work well and may use this wall in the future. What ever wall you choose make sure it has enough light for your cuttings. If you have grow lights then you can choose just about any wall.
Method:
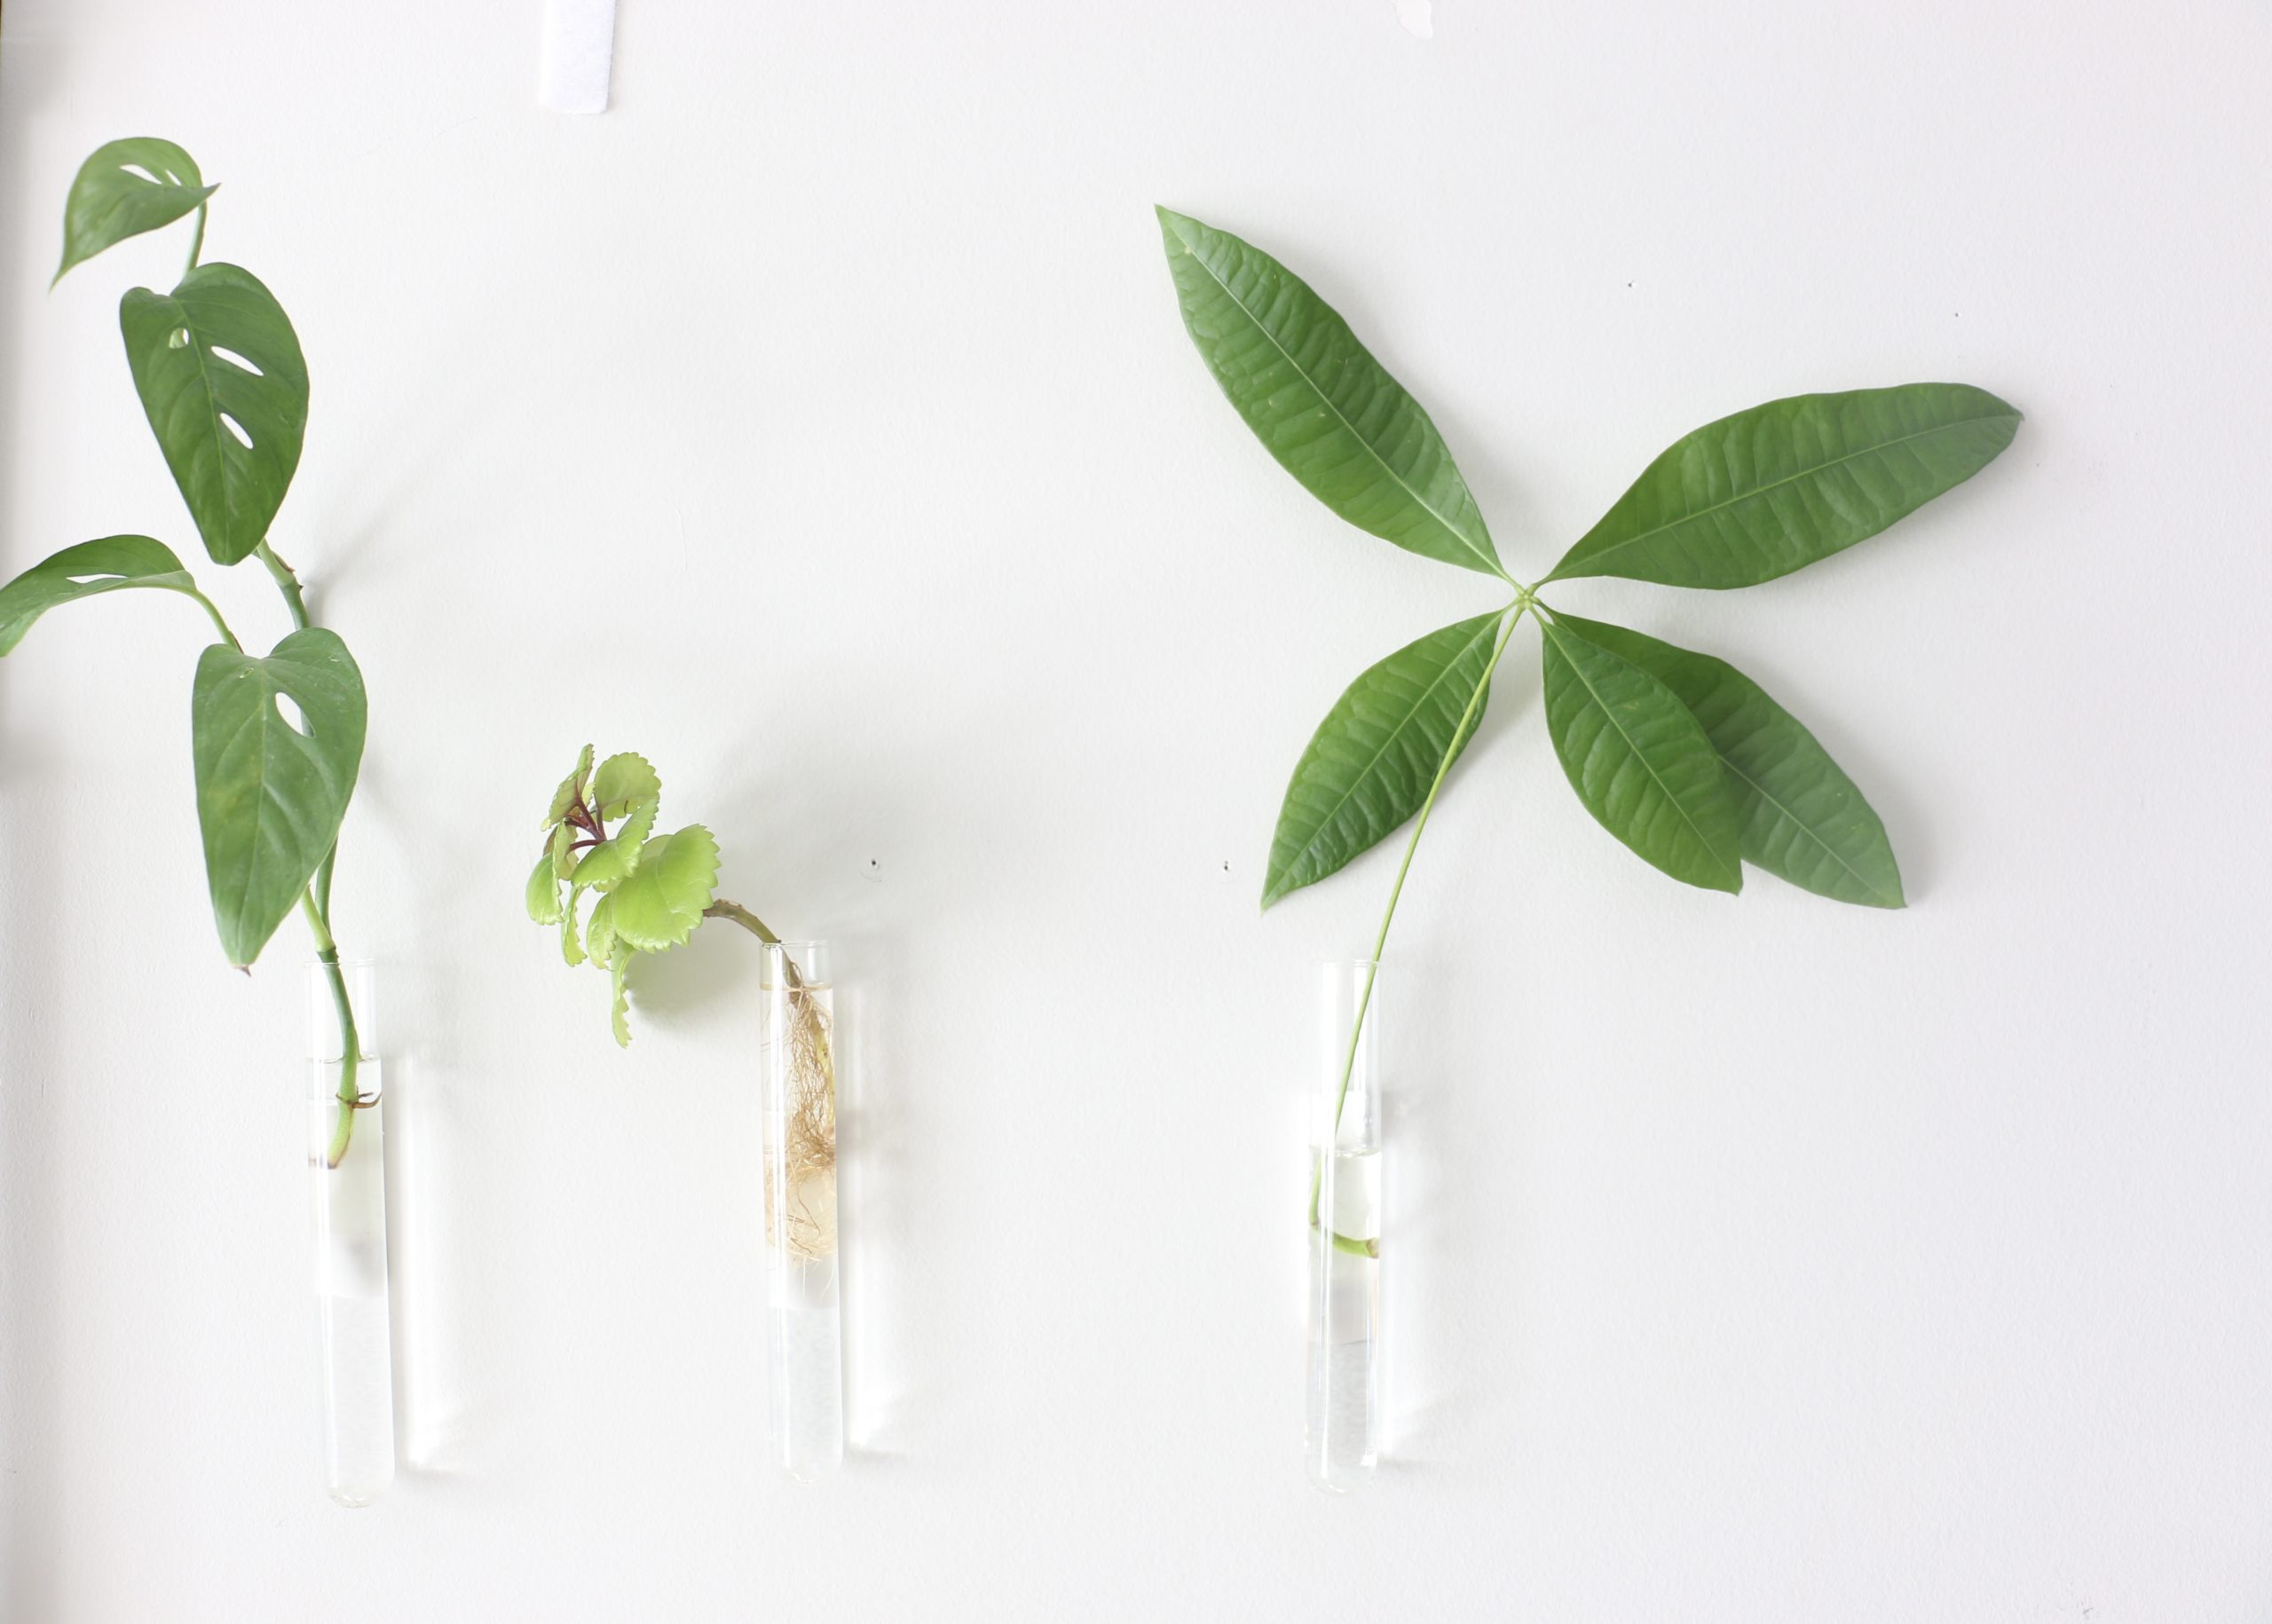
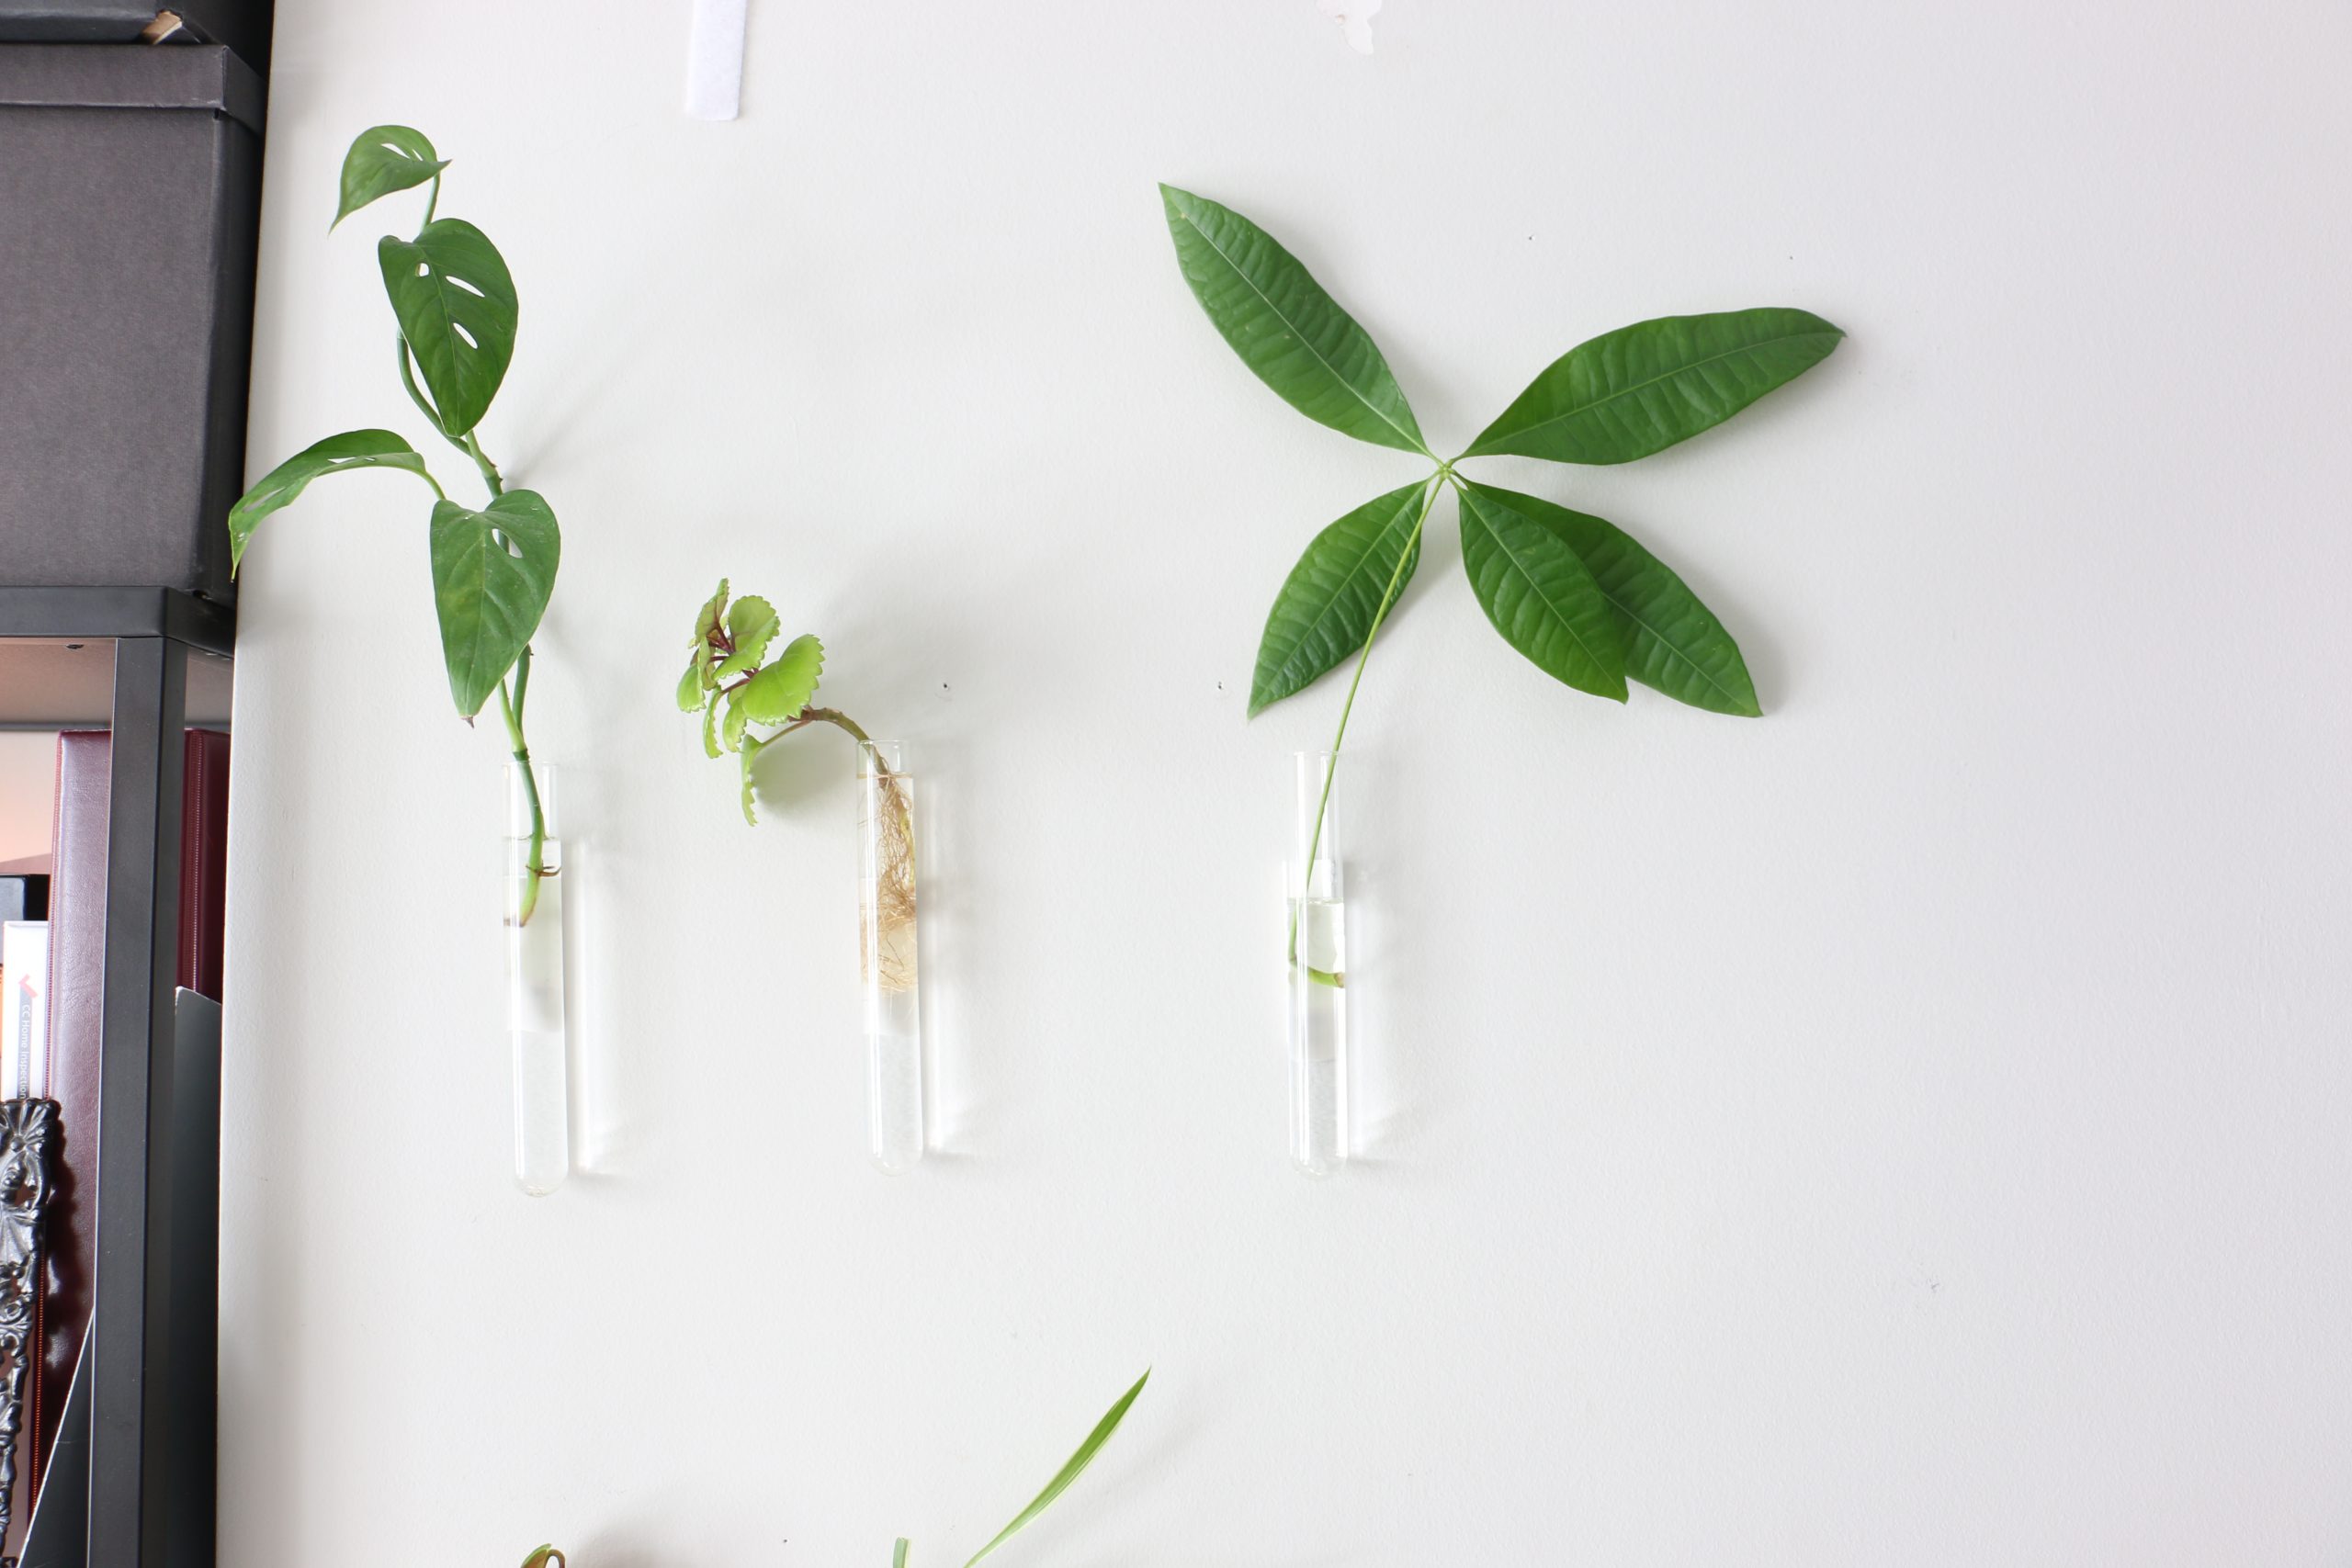
It was quite simple to do. If you would like a perfect looking wall then you have to be meticulous with your measurements. On the other hand if you are like me and have 2 kids screaming and pulling at your feet, then you may choose to go with the eye-balling method – which was what I did. I selected where I wanted the first tube to go then proceeded eyeballing from there where subsequent tubes would fit. Have fun with it by choose different patterns to place the tubes.
This took less than 15 minutes to do (and 30 mins to an hour of staring at the wall, appreciating my handiwork). I really like how it turned out.
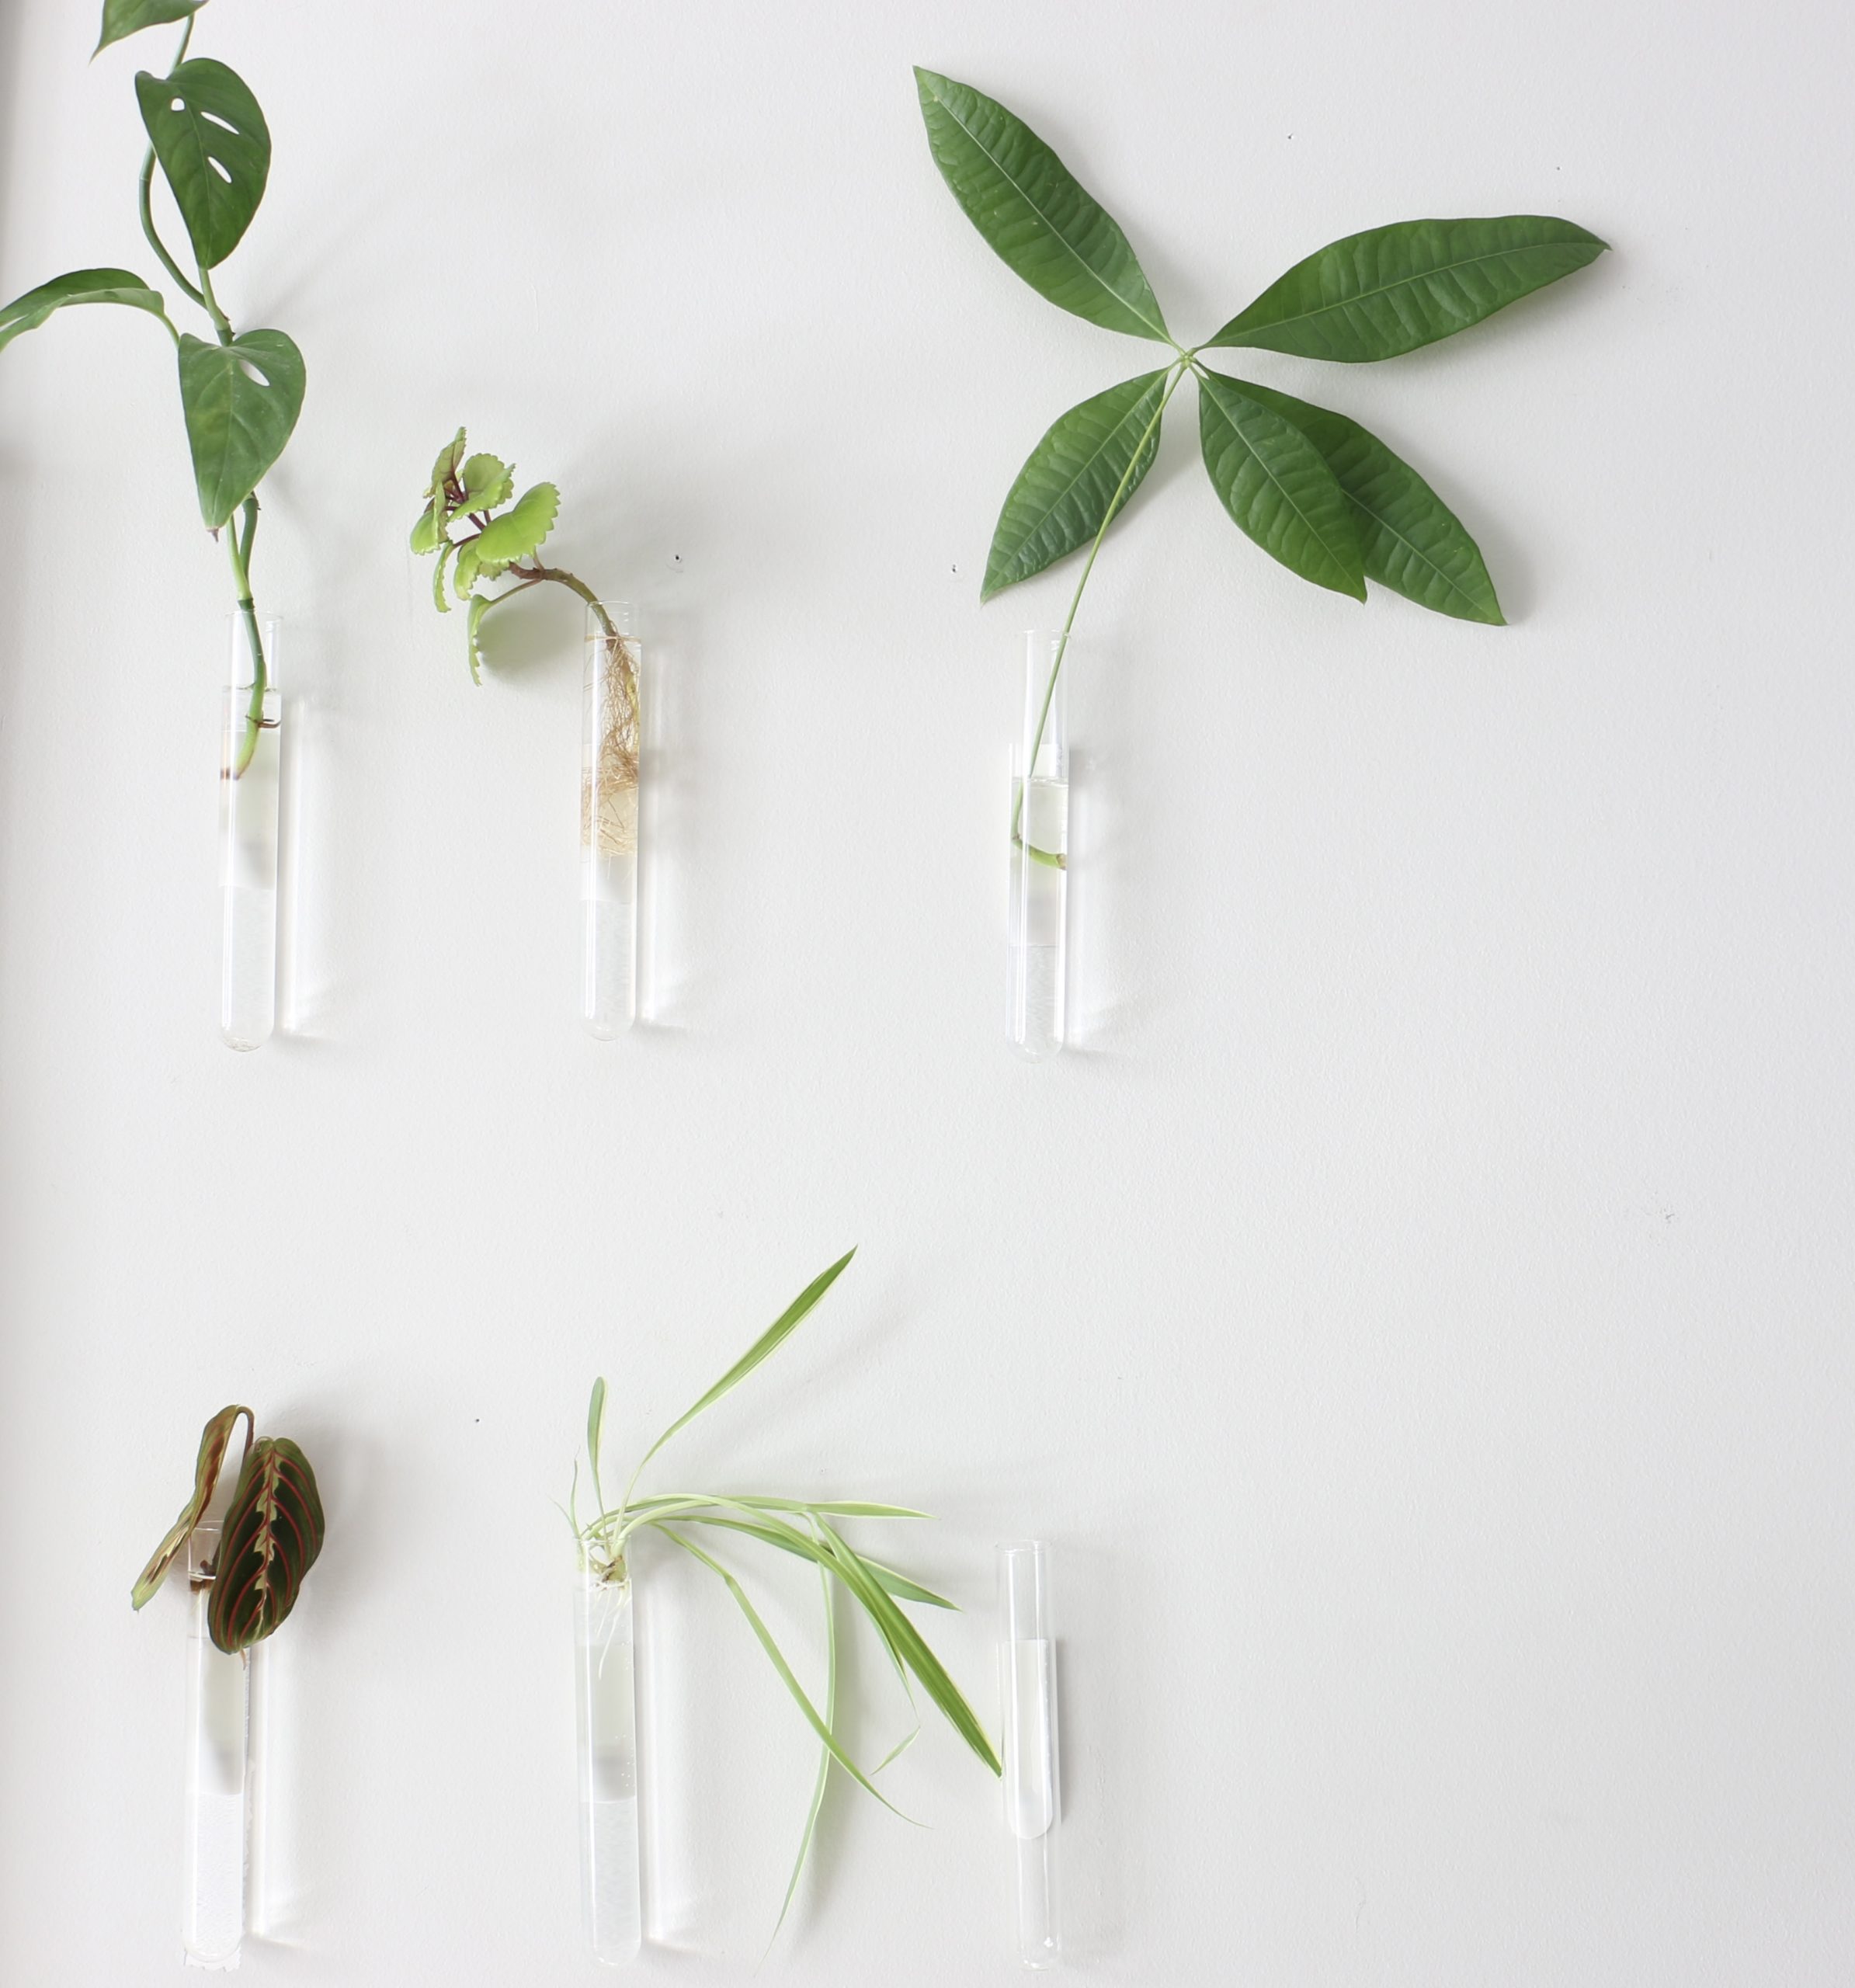
Talking about damaging walls, I had used a mix of strips from 3M as well as the dollar store to hang pictures on this wall years ago and in removing the dollar store strips they damaged the wall. There are 2 spots in the picture below on the wall where paint has peeled off (the other covered by a test tube). I decided to leave the other dollar store strip in place until I can figure a way to remove it without further damage. The 3M command strips though came off beautifully with no damage. Hence I strongly recommend you use this or a similar brand with same quality. Definitely don’t cheap out and get dollar store strips or you might end up with damaged walls. Can you spot the wall damage. It is longer than the cropped picture shows.
And I’m off to adding more tubes and propagate some plants, ready for spring!

Barbara
Hi, I’m Barbara and I’m a little obsessed with house plants. I share my house plant adventures in the hopes of inspiring you to continue to enjoy the greens in your home. And if you have no plants (yet!) I hope this blog inspires you to add some green to your home. So go on! Try it! I think you might quite like it. And who knows? You may end up being … obsessed too.
Leave A Comment