
Last year I tried my hands at a succulent wreath which was lots of fun (and still doing great by the way) and so this year, I thought I would try my hands at another kind of wreath. I wasn’t too sure how I was going to attach the airplants to the wreath. I wanted to construct the wreath in a way I could easily take it apart later if I wanted. I managed to make a wreath with no glue needed, just twine.
 What You Will Need
- Airplants (of course) : As many as you want. I had lots on hand but only ended up using three for a more simplistic look
- Twig wreath: Already made wreath from a craft store (Michaels). Wreath size depends on how big you want it.
- Twine: You need something to secure your airplants to the wreath. I used twine because it blended well with the wreath and strong enough. You can use [floral] wire, fishing line , although this might cut into the airplant because it is so fine, and may be difficult to work with.
- Preserved moss: I used dyed reindeer moss and Spanish moss also purchased from the craft store
- Optional: You can add any other decorative items to your wreath to personalize it. I used a bird.
HOW TO
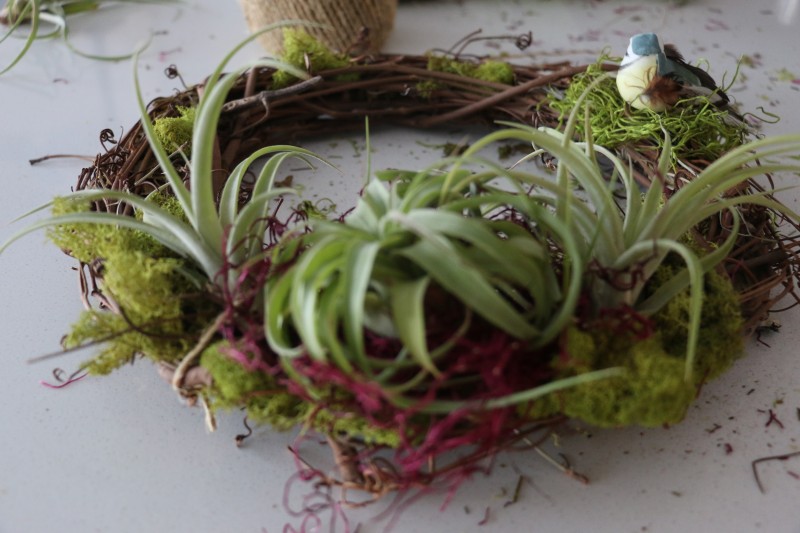
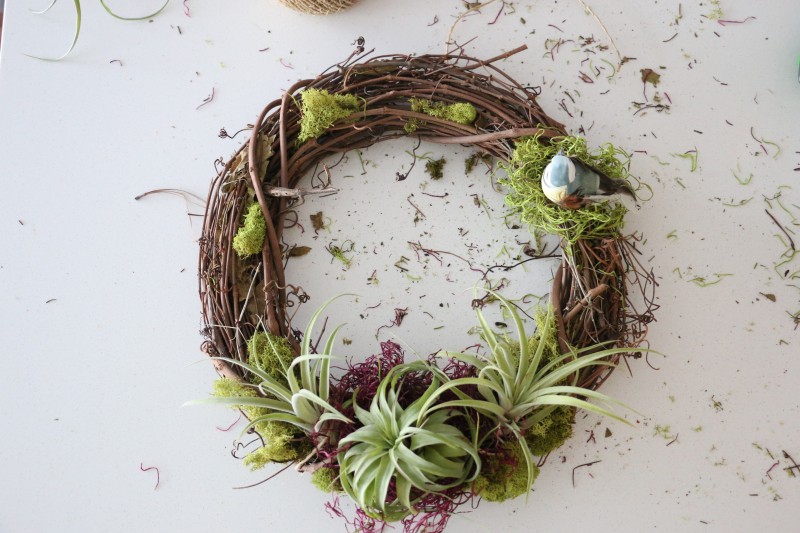
First, arrange the airplants on the wreath the way you want it to look. You may have to try different configurations to come up with the right look. When you do get it, take a picture of it so you can refer to it once you start working.
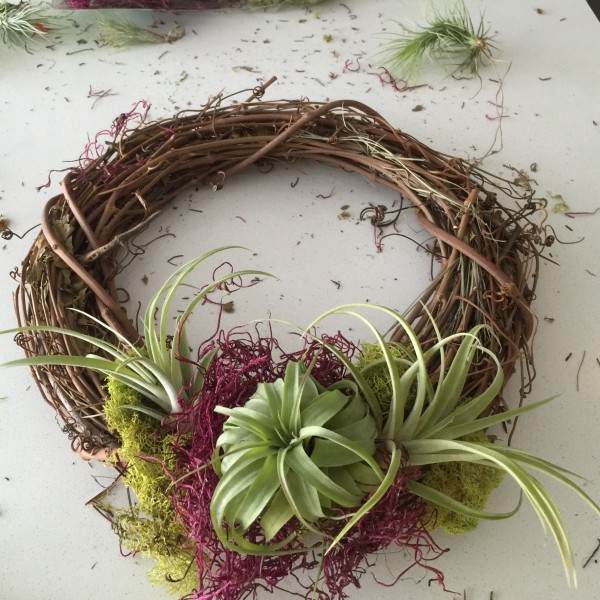
Once you have the look you want, remove everything and start by placing the first airplant on the wreath securing it with twine.
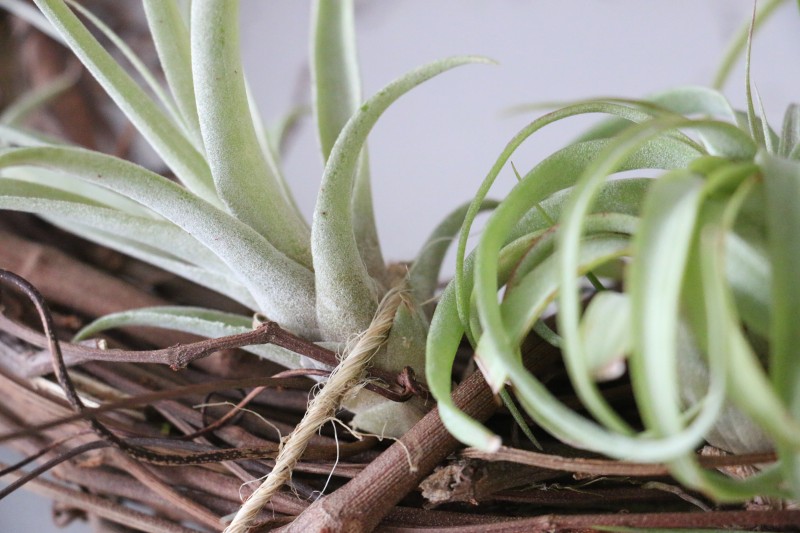
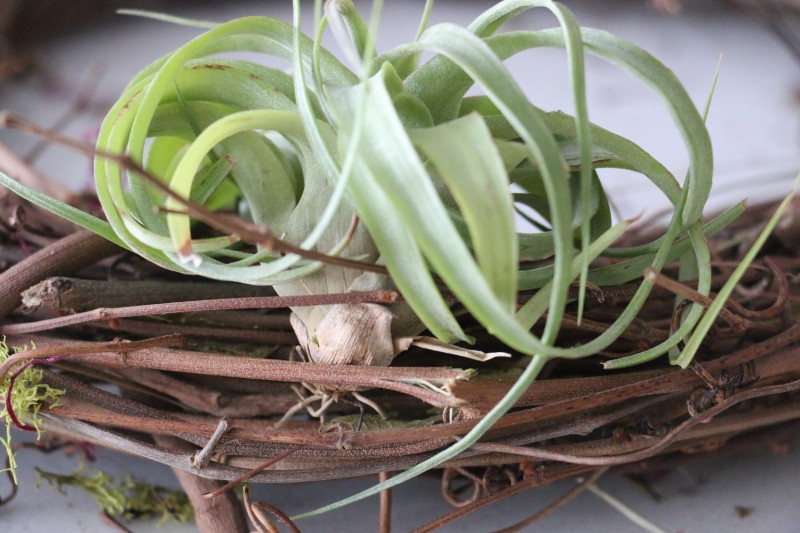
Use the twigs to your advantage. Use it to anchor the airplants however you can. Stick them in between the twigs to get the extra hold. For the small xerographica, it was really difficult to find a way to tie it to the wreath without damaging the leaves. I was however able to place it in between the twigs without twine and it did not fall off.
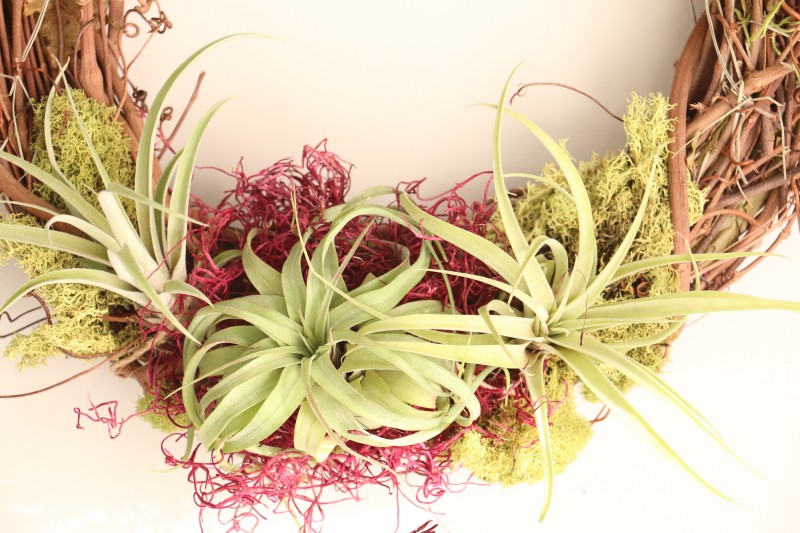
Next, Once all airplants are secured to the wreath, add your moss. I tucked the reindeer moss in between the twigs. The red Spanish moss does not only act as a decorative piece but also lends extra support to the xerographica. Add other decorative materials you want and you’re done.
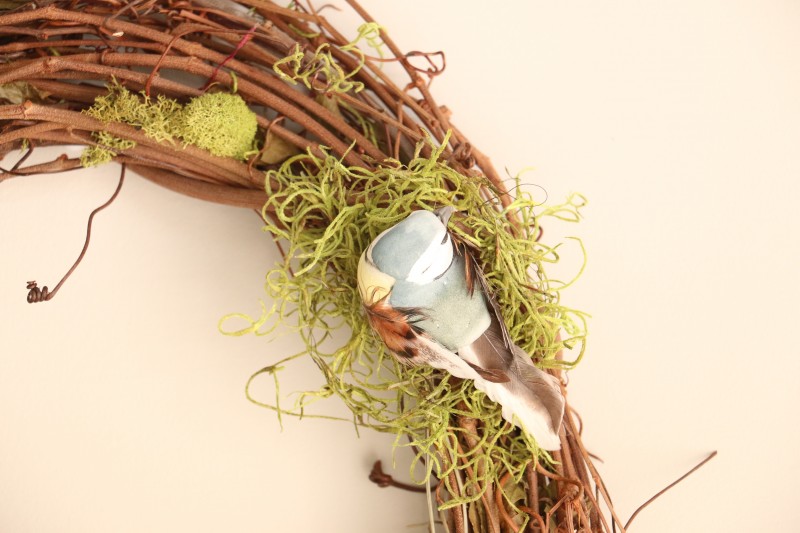
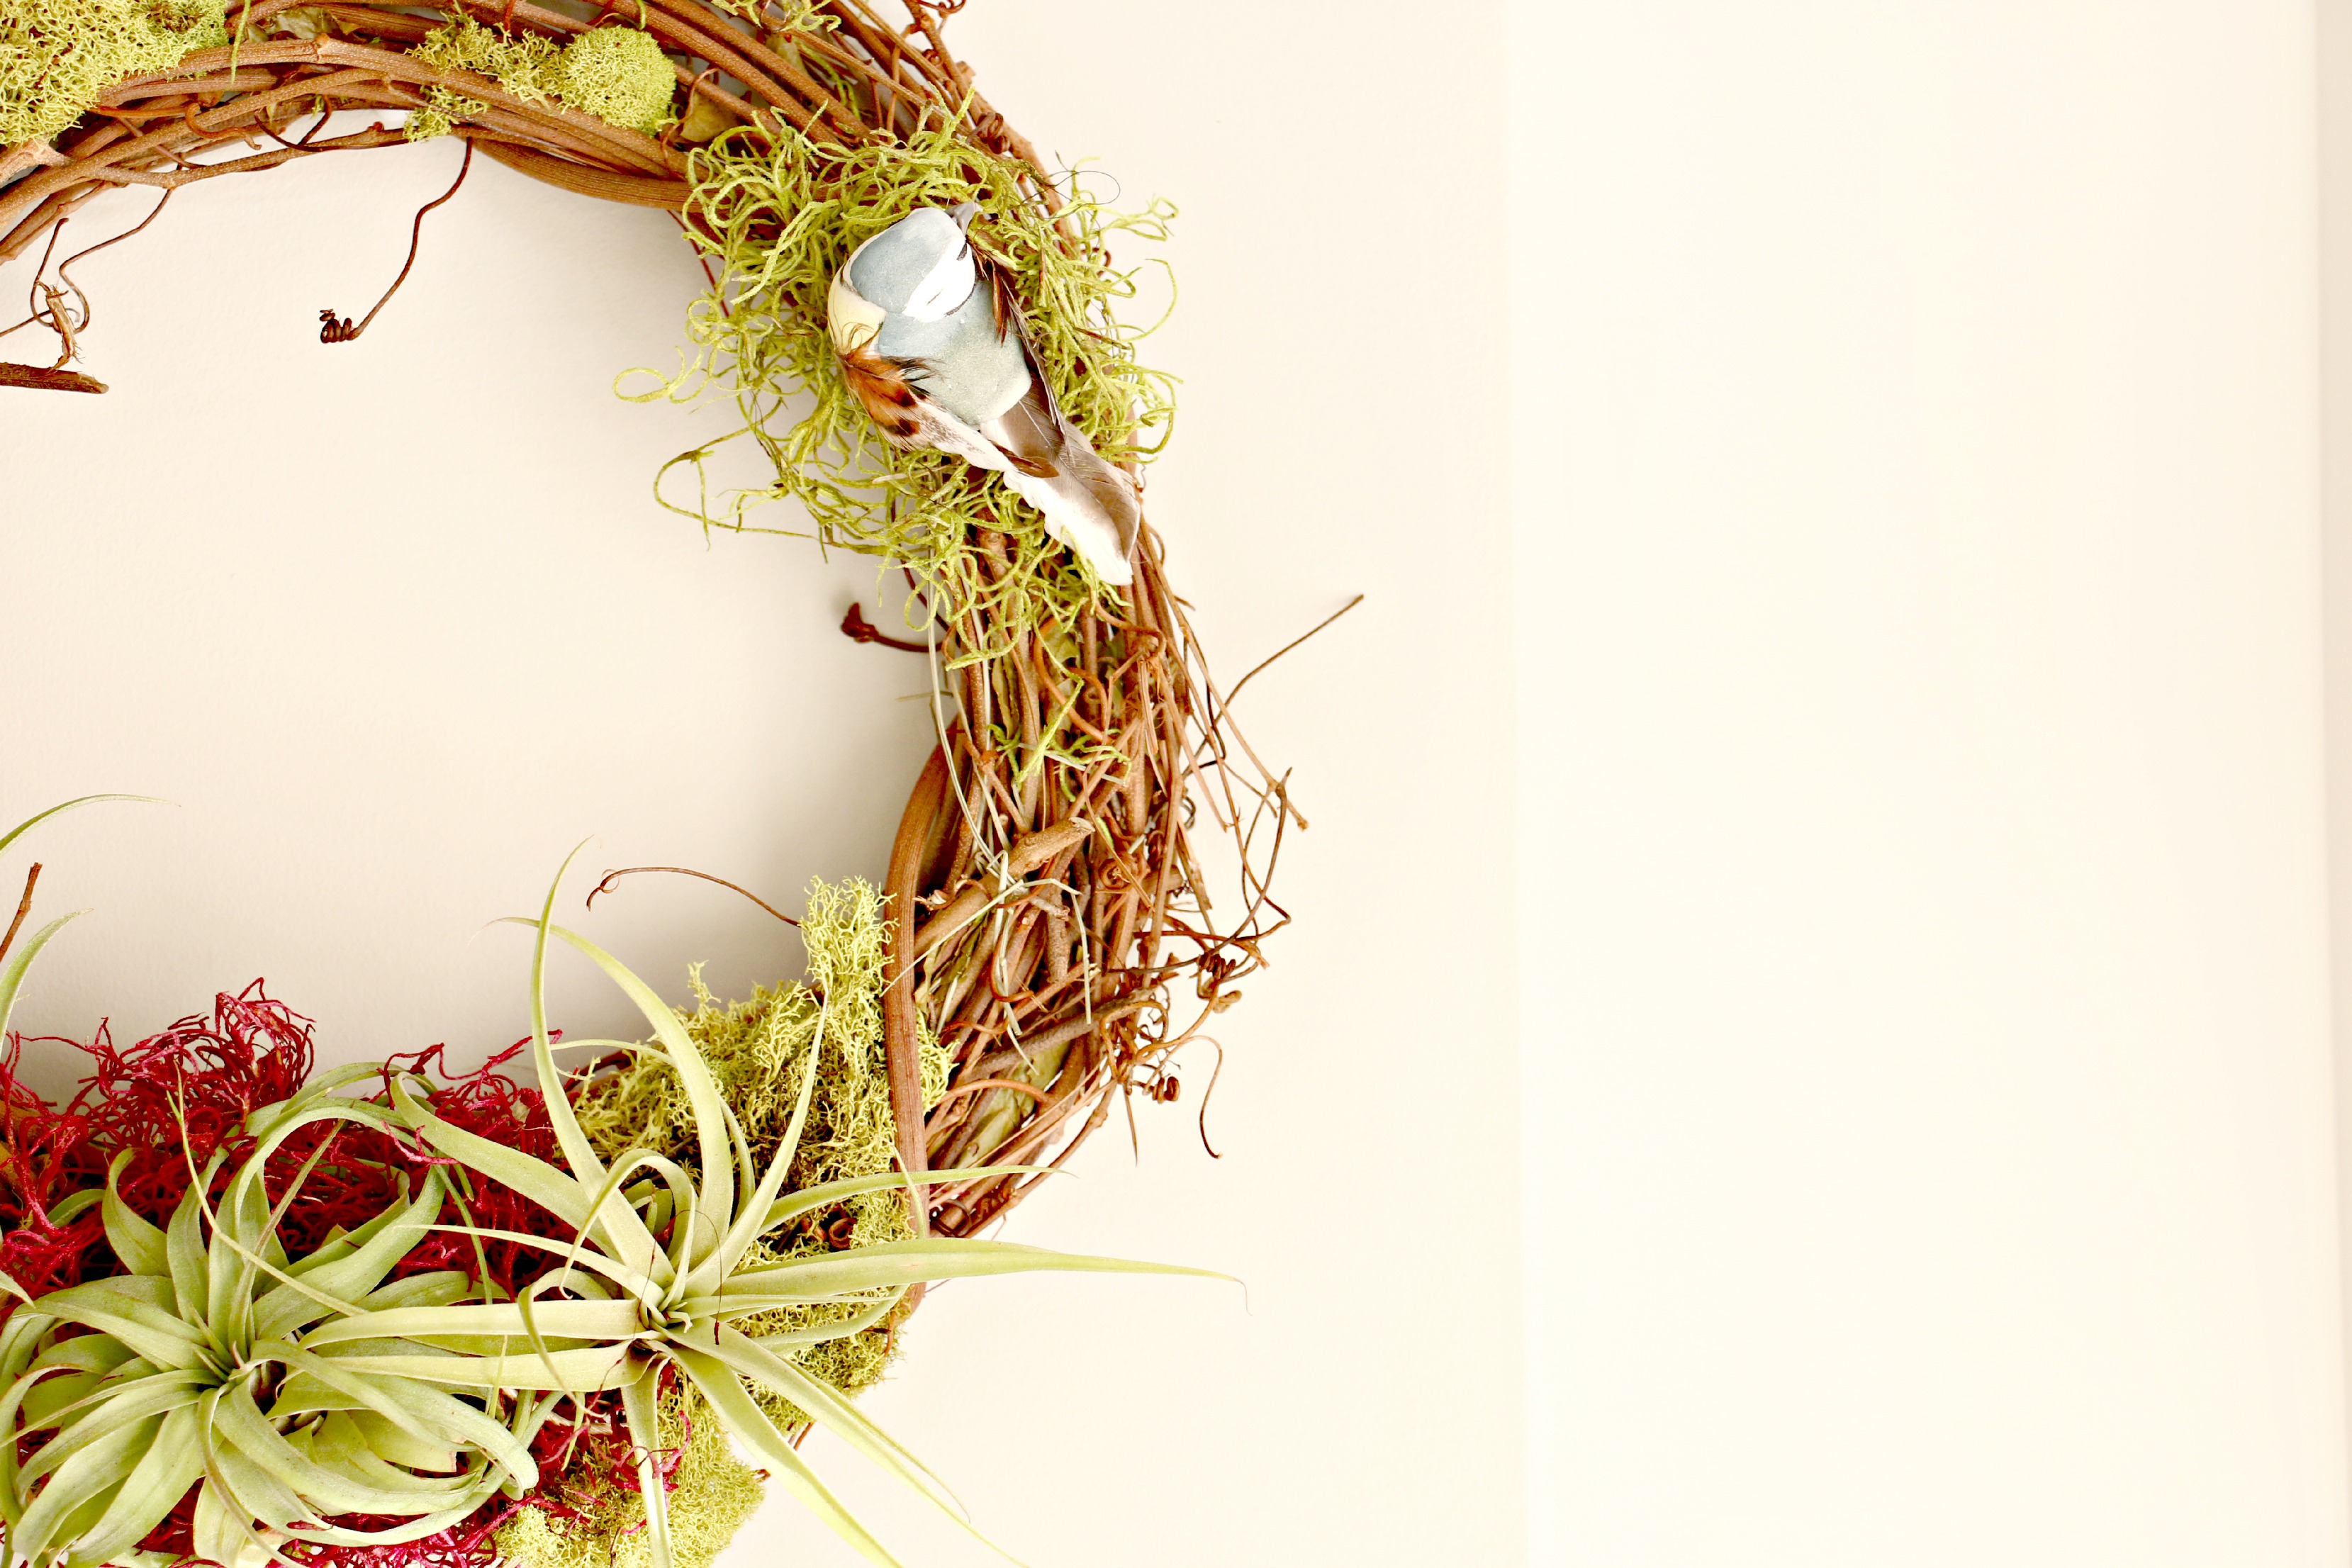
The bird I used comes with a clip so was easy to just attach it to the wreath. I made a little nest from moss and voila! You can add a ribbon or bow or acorns to give it a more Christmas feel.
Hang it wherever you like. It is pretty cold here so outside was not an option. I decided to hang it on a pushpin on the wall at the entrance of my home.

The colour in the dyed moss do run when watered so be careful to protect your surface. The reindeer moss also gets hard and crumbles when wet. Obviously you can’t avoid getting them wet, but this is just FYI. You can enjoy your air plant wreath for as long as you want and when you’re ready to change things up, you can easily remove or rearrange them.
![]()
Barbara
Hi, I’m Barbara and I’m a little obsessed with house plants. I share my house plant adventures in the hopes of inspiring you to continue to enjoy the greens in your home. And if you have no plants (yet!) I hope this blog inspires you to add some green to your home. So go on! Try it! I think you might quite like it. And who knows? You may end up being … obsessed too.
Leave A Comment